Installing the myGenie App in SharePoint
You can easily add the myGenie app to your SharePoint site, allowing you and your team to interact with it directly. Follow the simple steps below to install the app.
Step-by-Step Instructions
1. Download the SharePoint App
- Download the latest version of the myGenie app package by clicking here.
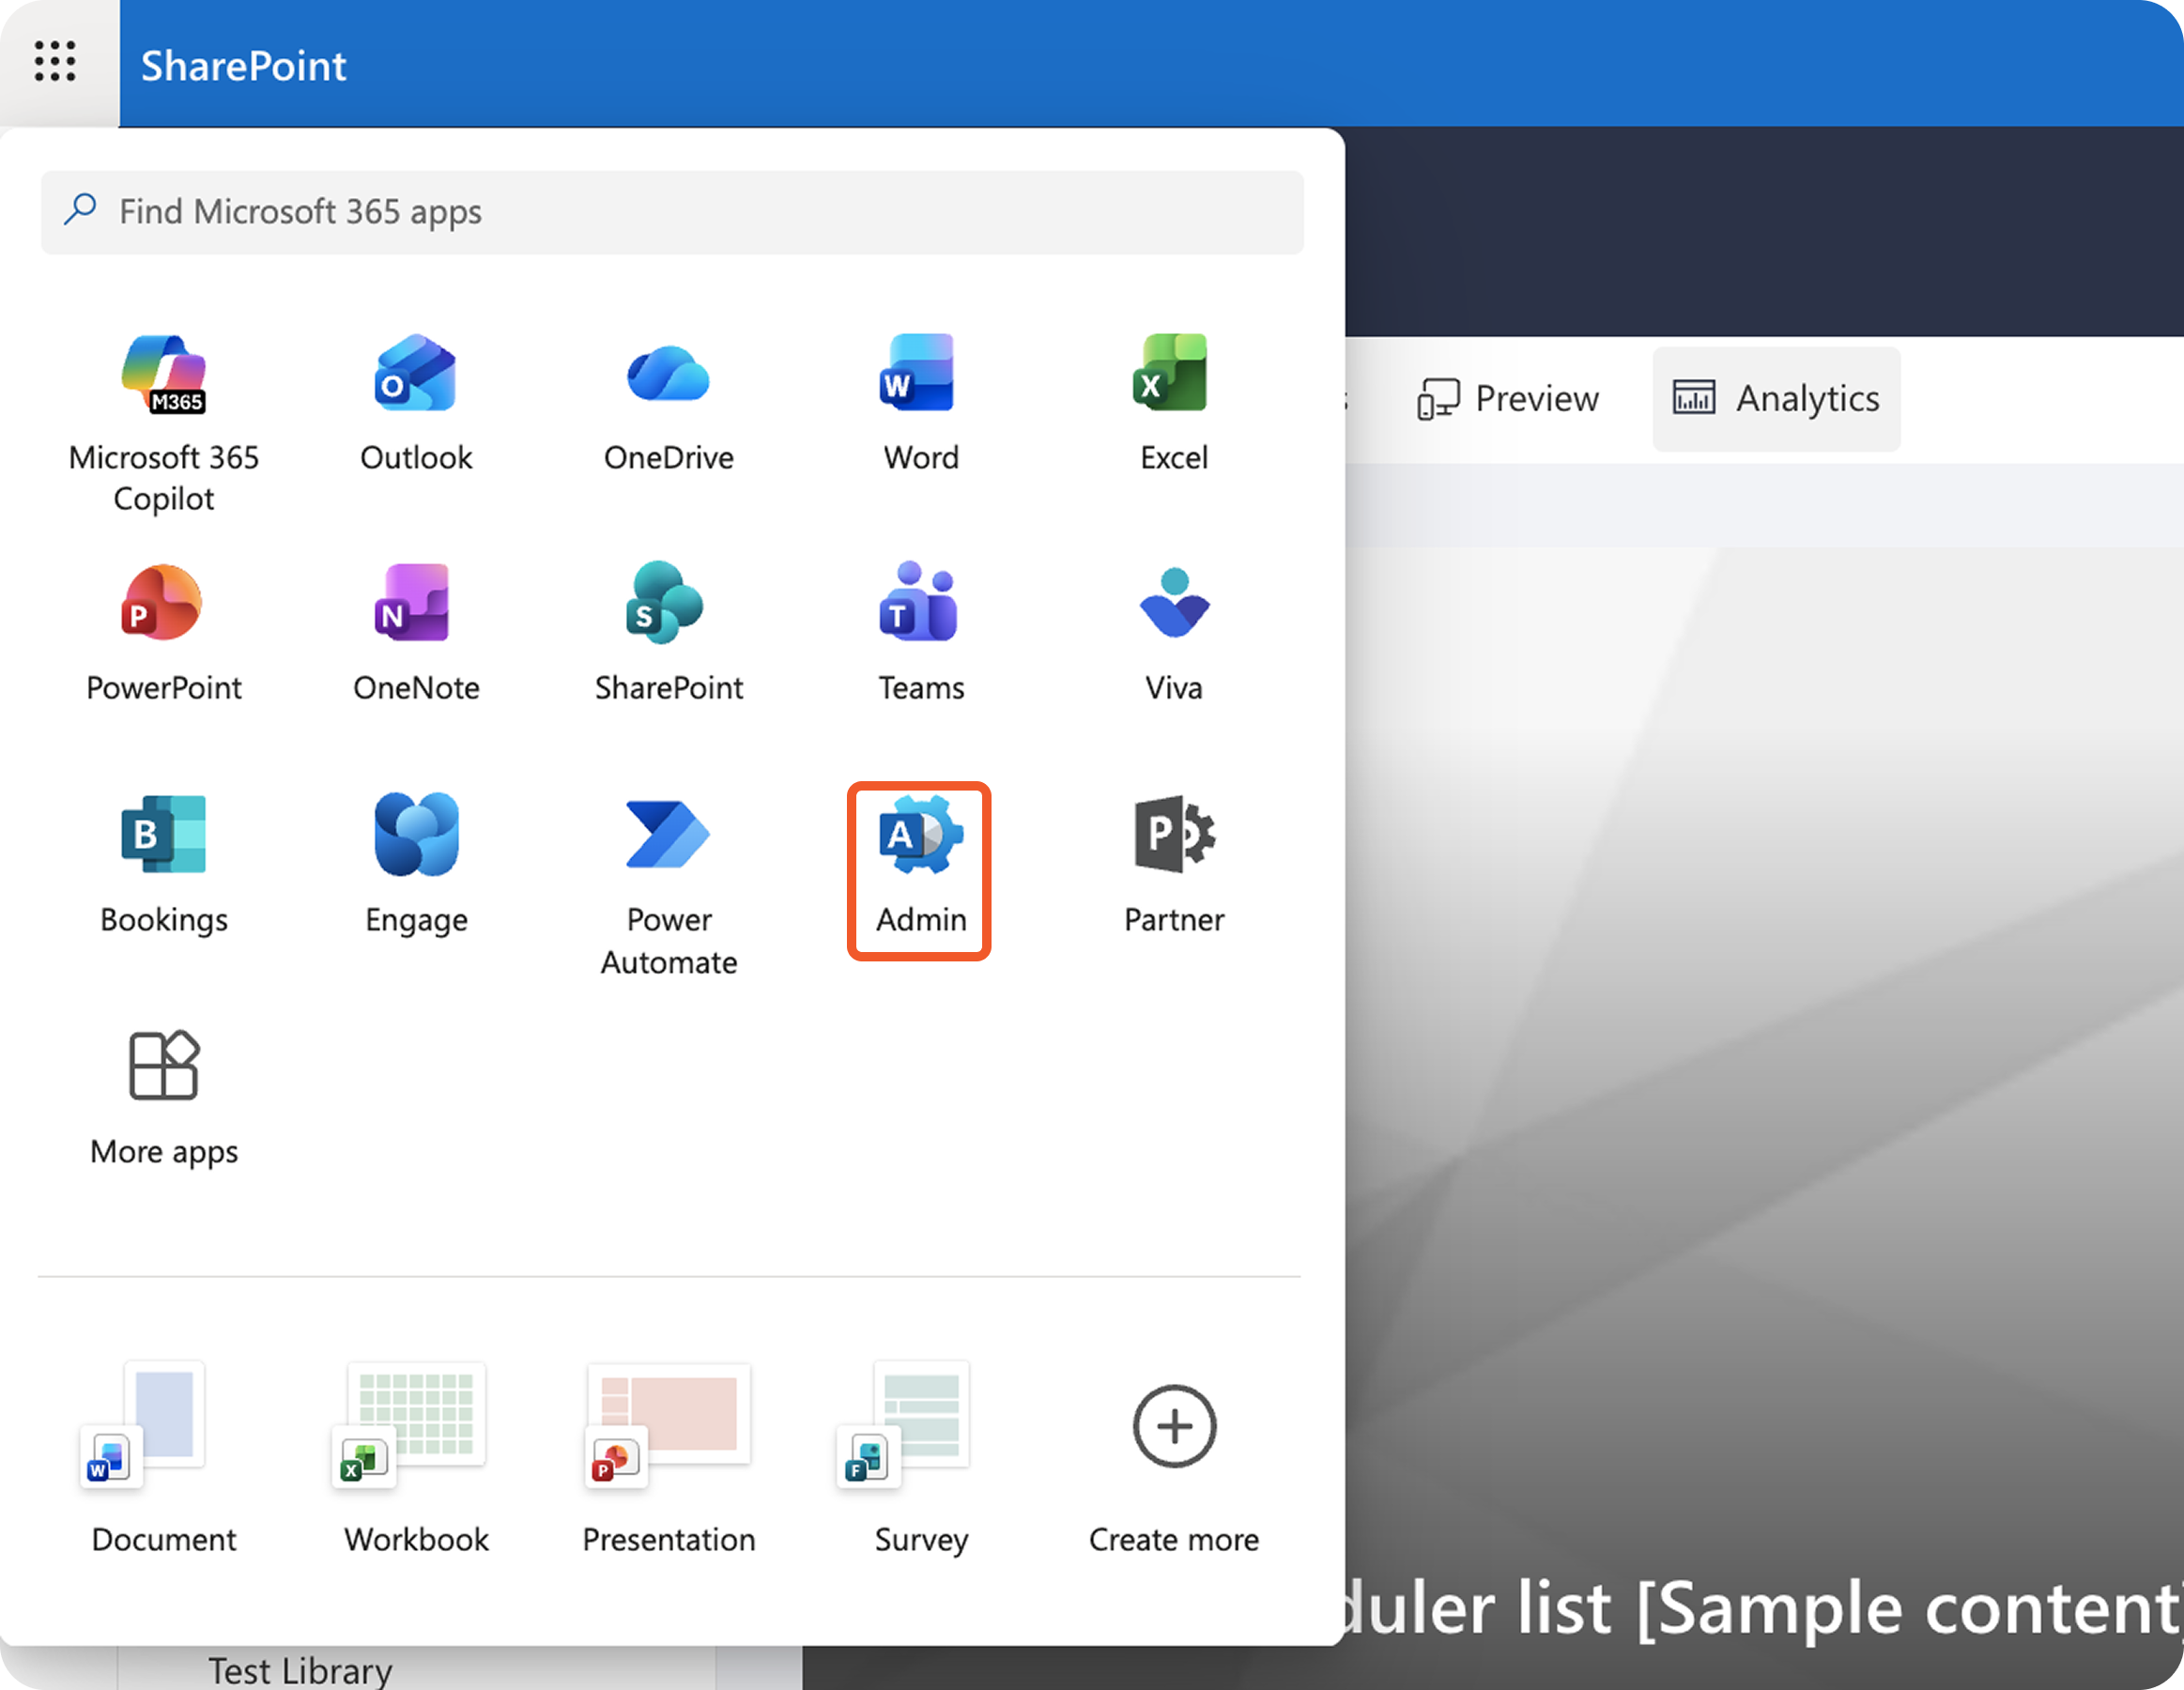
2. Add the App to the Tenant App Catalog
- Open the SharePoint admin center.
- In the left sidebar, find More features and click on it.
- Then, click on OPEN in Apps section.
3. Upload the App to the Catalog
- On the Manage applications page, look for the Upload button.
- Click it and select the myGenie app you downloaded earlier.
4. Enable the App
- After uploading, make sure to set the app’s availability to Only enable this app.
- Click on Enable app to proceed.
5. Handle Access Approval
- You will see a prompt asking about access permissions. Click Cancel to skip this step and avoid granting unnecessary permissions.
6. Go to Your SharePoint Site
- Navigate to the SharePoint site where you want to install myGenie.
- Click on Site contents, then click on the + New dropdown menu, and select App.
7. Install the App
- On the My apps page, filter to show From my organization.
- Look for myGenie and click Add to install it.
8. Confirm Installation
- Wait for a message that indicates the app has been successfully installed.
9. Start the Installation Wizard
- Go to the homepage of your site. The myGenie installation wizard will start automatically.
10. Enter Your myGenie ID
- When prompted, enter your unique myGenie ID (widget id) and click OK.
11. Grant Admin Consent
- If prompted for admin consent, click Accept to allow the necessary permissions.
12. Confirm Permissions Granted
- Look for a success message confirming the permissions have been granted. Click OK to acknowledge it.
13. Navigate to API Access
- Return to the SharePoint admin center. Expand the Advanced section and select API access.
14. Approve Pending Requests
- Find any pending requests for the myGenie app and click Approve.
- Confirm the approval in the right-hand pane that appears.
15. Add a Script Source
- Go to Script sources under the Advanced section.
- Click on + Add source.
16. Enter the Script Source URL
- Input the following URL:
https://chat.rea.chand click Add to confirm.
17. Final Check
- Return to your site’s homepage. You should see myGenie displayed in the bottom-right corner, indicating that the installation is complete.
NOTE: Make sure you have admin privileges before starting the installation process.
By following these easy steps, you’ll be able to install myGenie smoothly in your SharePoint environment!